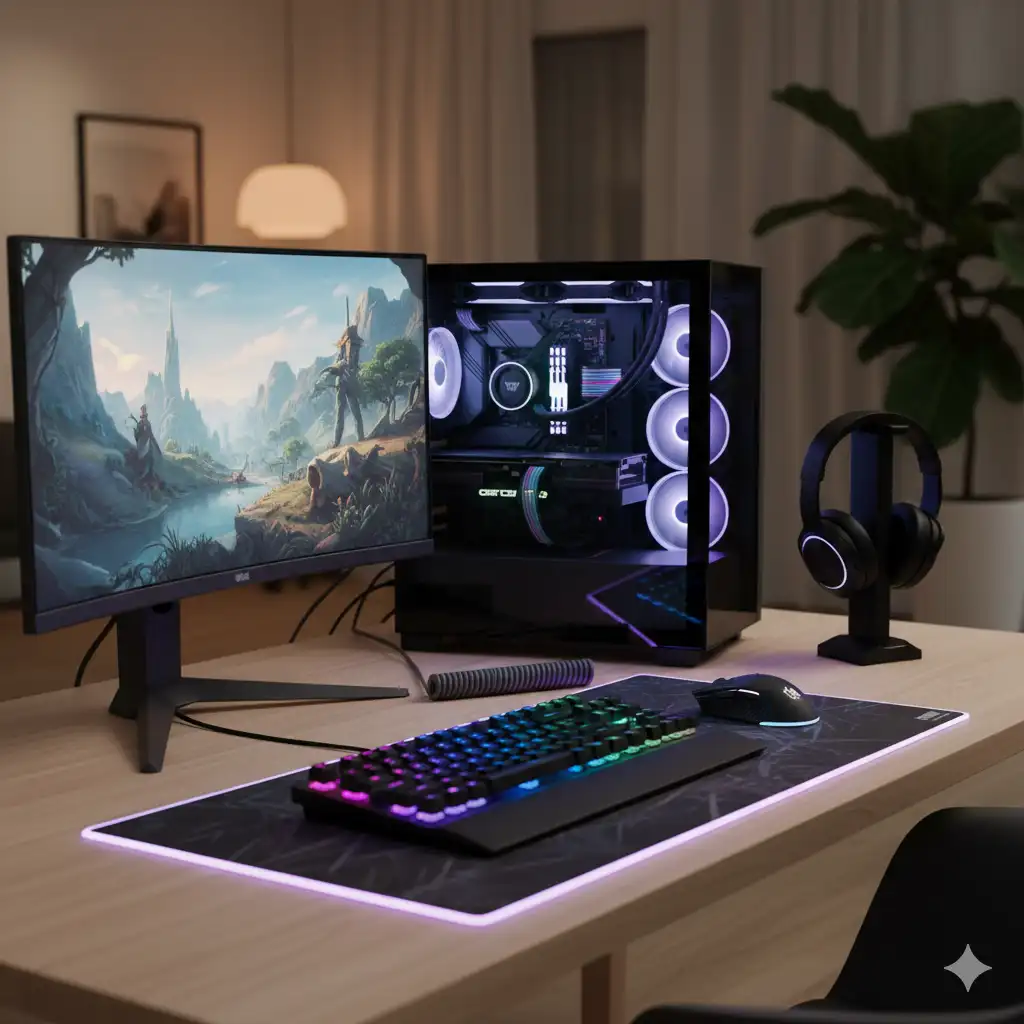
How to Build the Best Gaming PC: Ultimate 2025 Guide
Buying a pre-built gaming PC is convenient, but it often comes with a higher price tag and lower-quality components. There’s an unmatched satisfaction that comes from assembling your own powerful rig from scratch. The process isn’t as daunting as it seems; think of it as building with high-tech, adult-sized LEGOs. This is the ultimate guide on how to build a gaming pc for beginners in 2025.
This comprehensive guide will walk you through every single step, from choosing the right components for your budget to that thrilling moment you hit the power button for the first time. Ready to build your dream machine? Let’s get started.

Part 1: The Blueprint is Key to Success
The biggest mistake a beginner can make is rushing to buy parts without a solid plan. Proper planning will save you both money and headaches down the road.
Define Your Budget and Performance Goals
First, decide on your maximum budget. Second, what is your performance target?
- 1080p Gaming ($800 – $1,200): The gold standard for competitive esports titles like Valorant or Apex Legends, aiming for high frame rates.
- 1440p Gaming ($1,200 – $2,000): The current sweet spot, offering a sharp visual upgrade without the extreme cost of 4K.
- 4K Gaming ($2,000+): The premium visual experience that requires top-of-the-line components.
Part 2: Choosing Your Components (A Complete Gaming PC Parts List)
This is a list of every component you will need. Balance is crucial; don’t pair a $1,500 GPU with a $100 CPU.
1. CPU (Central Processing Unit): The Brain
The CPU handles all the game’s instructions and logic. The two main players are Intel (Core i5, i7) and AMD (Ryzen 5, 7).
- Recommendation: For most gamers, a modern AMD Ryzen 5 or Intel Core i5 is the perfect choice. If you also plan to stream or do video editing, consider a Ryzen 7 or Core i7.
2. GPU (Graphics Card): The Heart of Your Gaming PC
This is the single most important component for gaming performance. The GPU renders all the graphics you see on screen.
- Recommendation: Allocate around 30-40% of your total budget to the GPU. Read reviews and watch benchmarks for the games you play. Check out the latest lineups from NVIDIA’s GeForce RTX series or AMD’s Radeon RX series. (This is an External Link)
3. Motherboard: The Nervous System
The motherboard connects everything. Ensure the motherboard’s CPU socket matches your chosen CPU (e.g., AM5 socket for the latest Ryzen CPUs). B-series chipsets (like B650 or B760) offer the best value for most builds.
4. RAM (Random Access Memory): The Short-Term Memory
- Capacity: 16GB is the minimum standard for gaming in 2025. 32GB is excellent for future-proofing.
- Speed: Always buy a two-stick kit (e.g., 2x8GB) to enable dual-channel mode. Aim for a minimum speed of 3200MHz for DDR4 or 5600MHz for DDR5.
5. Storage: Your Game Library
- NVMe M.2 SSD: This is non-negotiable for your main drive (where your OS and favorite games live). Its speed makes loading times nearly disappear. Start with a 1TB drive.
- SATA SSD: Can be added later for more game storage at a slightly lower cost.
6. PSU (Power Supply Unit): The Power Plant
Never cheap out on your PSU. A bad PSU can destroy all of your expensive components.
- Recommendation: Choose a PSU from a reputable brand (like Corsair, Seasonic, Cooler Master) with at least an 80+ Bronze rating and 650W-850W of power for most rigs.
7. Case: The Protective Skeleton
Choose a case that not only looks cool but also has excellent airflow. A case with a mesh front panel is a fantastic choice to keep your components running cool.
Part 3: The Complete Guide on How to Build a Gaming PC
Get your Phillips head screwdriver and some zip ties. Work on a large, non-carpeted surface to avoid static electricity.

Step 1: Motherboard Prep (Outside the Case)
- Install the CPU: Open the socket’s retention lever, align the triangle on the CPU with the triangle on the socket, and gently place the CPU in. Do not use force. Close the lever.
- Install the RAM: Open the clips on the RAM slots. Align the notch on the RAM stick with the notch in the slot, and press down firmly on both ends until the clips click shut.
- Install the M.2 SSD: Slide the SSD into its slot at an angle, press it down, and secure it with its tiny screw.
Step 2: Mount the Motherboard into the Case
- Install the I/O shield (the metal plate for the back ports) into the case first.
- Install the brass standoffs inside the case to align with the screw holes on your motherboard.
- Carefully lower the motherboard onto the standoffs and screw it in.
Step 3: Install the Remaining Components
- Install the GPU: Insert the graphics card into the top long PCIe x16 slot until it clicks. Screw it into the case bracket.
- Install the PSU: This usually mounts at the bottom-rear of the case. Screw it in from the outside.
Step 4: Cable Management
This is the most challenging part of learning how to build a gaming pc. Connect the main cables:
- The large 24-pin motherboard cable.
- The 8-pin CPU cable (usually at the top-left of the motherboard).
- The 6+2 pin PCIe cables for your GPU.
- The tiny front panel cables for your power button and USB ports. Consult your motherboard manual for this part!
Use zip ties to tidy the cables for better airflow. If you need more help, you can read our other guide on how to manage PC cables like a pro. (This is an Internal Link).
Part 4: The First Boot and Installation
- Power On: Plug in all your peripherals (monitor, keyboard, mouse) and the power cord, and hit the power button. If the fans spin and lights turn on, congratulations!
- Enter the BIOS: Press the DEL or F2 key during startup. Inside the BIOS, enable the XMP or EXPO profile to make your RAM run at its full advertised speed.
- Install Windows: Insert your Windows installation USB drive, restart the PC, and follow the on-screen instructions.
- Install Drivers: Once Windows is running, install all the latest drivers, especially the graphics driver from NVIDIA’s or AMD’s website.
Congratulations! You have successfully completed this guide on how to build a gaming pc. You now have a powerful machine, built with your own two hands, ready to dominate the latest games.
